

We all want a neat and pristine paint job when painting our bathroom walls. However, it's always easier said than done, especially when painting behind the toilet tank since the space is often too tight to allow your hands to maneuver comfortably. On that account, this article will walk you through how to paint behind a toilet tank with just a little bit of prep and a few tools.
Why Learn How to Paint Behind Toilet Tank?
For most people, learning how to paint the back of a toilet means having a complete bathroom interior finish. This enhances its look and feel, providing a better bathroom experience for anyone using the facility. Furthermore, painting the entire wall around the toilet gives it more sturdiness, thus extending its lifespan.
How to Prep before the Paint Job
Before you begin, it's important to ensure you get the right primer and paint. Bathrooms are naturally exposed to a lot of moisture and humidity, meaning the ideal paint should be able to stand up to the combination.
Ideally, you should start with a high-quality moisture-resistant primer to prevent peeling and water damage for several years. Second, it's usually recommended to use paint with antimicrobial additives or interior paint with a gloss finish (semi or high) since the sheen is more effective at repelling moisture than matte paints.
Here are a few steps to follow before you begin the job:
1. Remove the Toilet Tank Lid
Take off the toilet tank lid and keep it outside the bathroom. Next, cover the open basin using a trash bag. If you're having a problem keeping the bag in position, you can put some painter's tape on the plastic and porcelain on the underside. This also helps to prevent accidental paint marks on the toilet and seat.
2. Ventilate the Bathroom
Bathrooms are usually small, enclosed spaces with limited air circulation. Painted surfaces in such tight spaces emit toxic fumes that can cause problems such as blurred vision or as extreme as fainting. Therefore, it's important to ensure there is enough air circulation in the room before you start painting.
First, open all the bathroom windows. If yours doesn't have windows, you can leave the door open as well as the windows closest to the bathroom. You should also remove shower curtains, bath and hand towels, floor rugs and other materials in the bathroom that can retain moisture.
Just as important, you should consider wearing a painter's mask to avoid inhaling the fumes.
3. Cover the Toilet and Flooring
The last thing you'd possibly want is to make a huge paint mess on your toilet and floor, especially if you plan on painting the entire bathroom. Covering the floor with plastic wrap or old clothes is a sure way of avoiding potential paint spots.
4. Wear Old Clothes
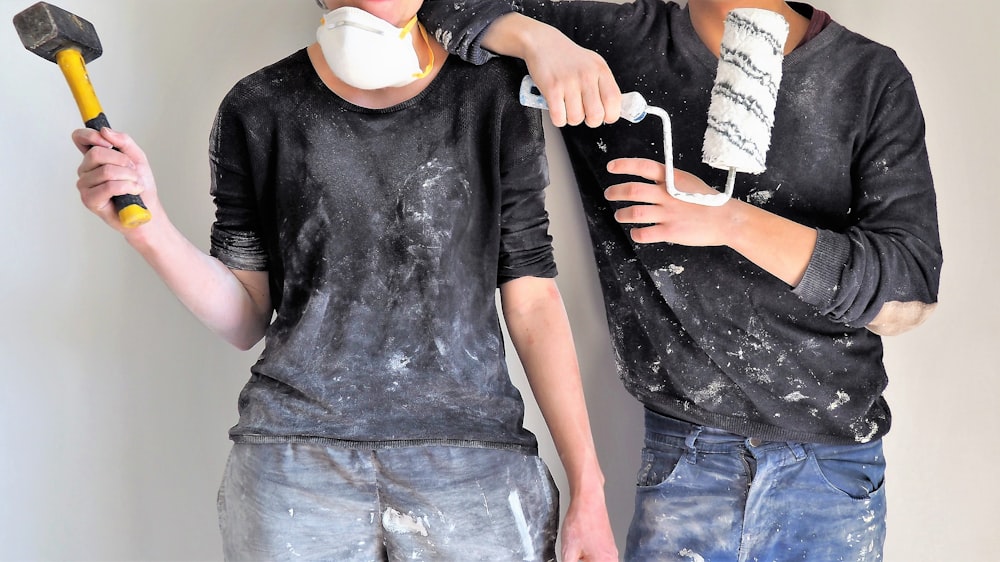
Image Source: unsplash.com
Other than staining your bathroom, you also run the risk of spilling paint on your clothes. That means you might need to wear old or worn-out clothes since paint can ruin fabrics easily.
After you're done, don't throw out these clothes. Instead, you can launder and store them for future painting projects.
With prep work out of the way, let's look at three simple, inexpensive methods you can employ to paint behind a toilet. The first two should help you get the job done well without too much work. The third method involves a bit of uninstalling and reinstalling, which might not be your average walk in the park, but is still doable with clear instructions.
Method 1: Using a Mini Roller

Image Source: pixabay.com
This is arguably the easiest way to paint behind a toilet. It only takes 5 or fewer minutes, requires common painting tools and still gives the area behind the toilet a similar texture to the rest of the wall paint.
Tools Needed
- Mini roller frame
- Mini roller pad
- Tray
- Drop cloth
- 1.5" painters or masking tape
Step 1: Clean Up around the Toilet
It's important that you wipe down the toilet completely since you'll be on your hands and knees stretching (practically hugging) around it. That's because having a squeaky clean toilet and space makes it more hygienic and bearable.
You might also need to clean the trim behind the toilet; otherwise, the tape will not stick to it firmly.
Step 2: Prep Toilet and Trim
The water tank lid is usually slightly wide than the tank by about an inch. That means very little room between the toilet and wall, which obviously makes things harder. Therefore, start by removing the lid; in any case, most are designed to lift off the tank easily.
Run three strips of tape along both sides of the water tank. Ensure the first strip wraps a little behind the back edge of the tank. You won't need tape on top of the toilet water tank since you'll have removed the lid.
Place the small drop cloth over the whole toilet to protect it from paint spills.
Lastly, run a strip of tape on the trim at the back of the toilet, and secure it firmly in place using a small mud knife.
Alternatively: You can place a large trash bag over the water tank from the top down. Then, run a couple of tape strips around the whole tank to tighten the bag.
Step 3: Brush around Water Inlet Pipe
A standard paint roller doesn't have enough purchase to get into tight corners, edges and pipes. Therefore, use a 2" cutting brush to brush the water inlet pipe coming out of the wall to the toilet.
Next, using the same brush, brush a coat of paint along the trim.
Step 4: Use the Mini Roller Behind the Toilet
A mini paint roller and paint pad make the remaining part of the task a breeze. The long neck and narrow pad allow you to apply paint behind the toilet with ease. Plus, you don't need any special tray for a smaller paint roller.
Step 5: De-Prep & Clean-Up
When you're done painting, pull all the strips of tape, both on the toilet and trim. If you'd used a plastic bag, rip it out carefully to avoid messes.
In case some paint splattered on the toilet, wipe it off right away. Paints tend to take a while to bond tightly to porcelain toilets.
Method 2: Using a Stick and Rag
If there's too little clearance from the wall to use a mini paint roller, a stick and rag can help you get into the tight space. Most painters recommend using a Jimmy Sponge Stix to paint behind a toilet.
Tools Needed
- Paint stir stick
- T-shirt rag
- Drop cloth
- Painters/Masking tape
Step 1: Prep the Toilet
First, cover the whole toilet tank with a huge plastic bag; a garbage bag should do. Ensure it goes all the way between the tank and the wall.
Run a couple of tape strips around the bag and toilet to secure it.
Next, wrap a rag around the painting stir stick, and run a few strips of tape to hold it firmly.
Lastly, get a few drop cloths around the toilet to protect the floor from splatter.
Step 2: Paint Behind the Toilet Tank
Transfer paint onto a tray or container. Then, dip one side of the rag on the stick into your paint. Alternatively, use a paintbrush to brush paint onto it.
Ensure the rag isn't soaked in paint as this is likely to make a mess. Slide the stick up and down between the water tank and wall until the wall is painted to your satisfaction.
Step 3: Clean Up
When you're done painting behind the toilet, wait until the paint dries before removing the strips of tape and garbage bag.
Disclaimer: Painting behind the toilet with a stick and rag is pretty slow. Furthermore, it doesn't always leave a perfect texture, even when using a professional-grade Jimmy Sponge Stix. However, texture probably doesn't matter too much behind the toilet when the job is done.
Additionally, this method usually works best with light coats. That means you'll probably need a third coat of paint. Just as important, the last coat needs to be 100% dry so that it does not rub off if there's too much friction in the tight space.
Method 3: Removing the Toilet Tank
Sometimes push gets to shove when these two methods above can't allow you to get paint behind the toilet to your liking. In such situations, the last resort is usually removing the toilet tank to have complete access to the wall.
It's worth noting that this is not highly recommended, especially if your water tank and the bowl are not separate. It's only a viable method if you can remove the water tank alone, but not when you have to remove the entire toilet.
Tools Needed
- Wrench
Step 1: Turn off the Water Supply
First, cut off the water from flowing into the tank using the valve coming out of the wall behind the toilet. Next, flush your toilet to empty the tank. Lastly, unscrew the water hose under the water tank.
Step 2: Detach the Toilet Tank
Most toilet tanks are attached to the toilet bowl by two plastic bolts and nuts. Reach directly under both sides of the tank to unscrew both nuts from the bolts. Next, lift the tank gently off the bowl.
Step 3: Paint the Wall
With no obstacles standing in your way, you can go forth and paint the wall behind the toilet as you have the rest of it. Furthermore, the toilet bowl should have enough clearance from the wall not to hinder your painting.
Step 4: Reattach the Water Tank
Once you're done painting and given the wall time to dry, it's time to replace the water tank. Place it back onto the bowl while ensuring that each bolt goes to the right hole. Screw both nuts back on to secure the tank to the bowl.
Lastly, reconnect the water line in the reverse order of how you cut off the water supply. Do a test flush to ensure everything works as it should.
Wrap Up
Ultimately, no one will barely notice the wall paint behind your toilet. Therefore, you probably don't need to get worked up getting a perfect paint job. That being said, any of these methods above should help you accomplish a good job you can be proud of.
Good luck!
Featured Image Source: pinterest.com