A round swivel chair is always an elegant accent to any living room. But how do you keep it looking new or change its style? In this article, we'll look at how to reupholster a round swivel chair to help you breathe new life into yours.
What You'll Need
- Sewing machine
- Needle-nose pliers
- Needle and thread
- Seam ripper (optional)
- Scissors and iron
- Tape measure and muslin
- Marker, staple gun and staples
How to Reupholster a Round Swivel Chair
This is how you pull off a DIY upholstery project to give your round swivel chair a complete makeover :
Step 1: Remove the Old Fabric
Remove the cushion from the chair and put it away. Next, pull out the staples holding the fabric from the frame of the chair using the needle-nose pliers. Avoid ripping the material because you'll need it later when cutting out new fabric for the chair. You also need to remove the screw-on legs from the bottom of the chair.
Step 2: Cut It at the Seams
Lay the fabric you just removed from the chair on a flat surface. Next, cut it at the seams using a seam ripper or scissors.
Step 3: Prepare the New Fabric
Spread out the new upholstery fabric on a flat surface with the right side down. Place each piece of the old fabric you removed on the new material. Trace each piece you cut out on the new fabric using a marker.
Step 4: Cut out New Fabric
Cut the new fabric along the patterns or markings you made using scissors. For the best results, cut the fabric into sections and then cut out each individual piece for your round swivel chair.
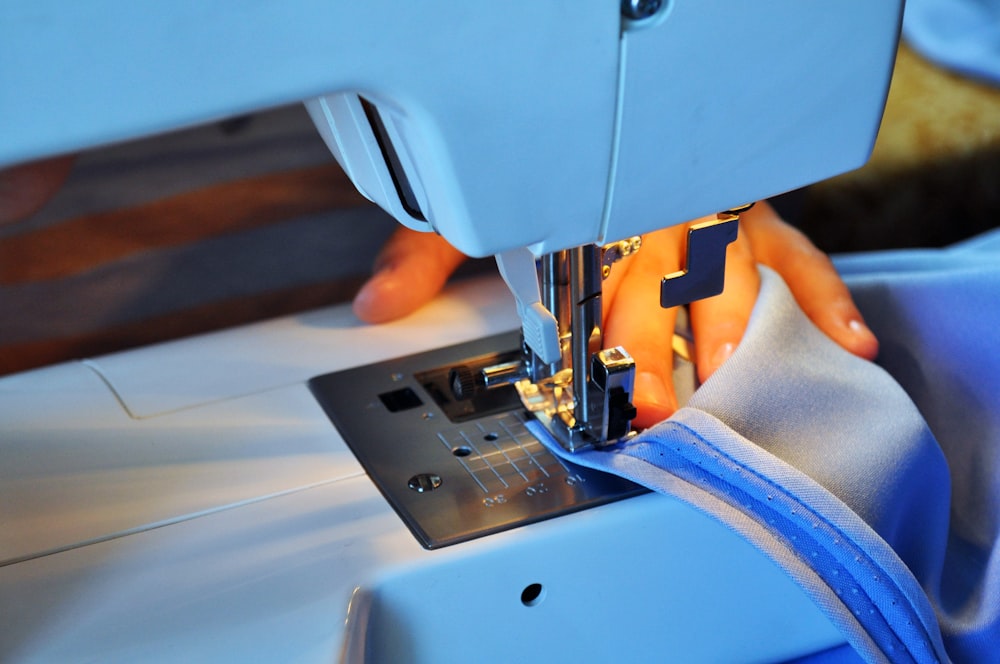
Step 5: Sew the Sections

Image Source: unsplash.com
Next, turn the material back to the right side up and sew the sections together, one at a time. You can either sew by hand or use a sewing machine with a thread grade suitable to the fabric.
Remember, upholstery fabric might require thread stronger than nylon.
Step 6: Fit the Fabric Tight
Put the upholstery on the swivel chair, ensuring it fits tightly around the chair's arms, back and barrel.
Step 7: Staple the Upholstery
Using the staple gun, staple the upholstery along the inner edge of the seat. For the best results, start at the center and work your way toward the corners. It's important to pull the fabric tight and smooth it as you staple it down.
When you're done, turn the chair over and staple the upholstery to the bottom of the chair. Unlike before, start from the corner and work your way in, and remember to keep it tight and smooth as you go.
At this step, use your scissors to make a small hole over the section where the legs attach for better accessibility when re-attaching them.
Step 8: Prepare the Muslin
Measure the height and width of your seat where the cushion sits. Next, cut a piece of muslin to fit by adding half an inch around the muslin's perimeter.
Turn the chair back out and then measure the height and width of the bottom of the chair and add half an inch around the perimeter as well.
To make the muslin edges smooth and straight, iron underneath the half-inch of material you added to each piece of the muslin.
Step 9: Fit the Muslin
Lay the muslin on the seat of your chair and staple it around its edges. For the best results, space the staples evenly about half an inch apart. Using muslin as a base covers the upholstery you had stapled inside the edge of your seat earlier.
Turn the chair over and staple the other piece of muslin to the bottom of the chair. Similarly, space the staples around half an inch apart.
After attaching the muslin to the bottom, reattach the chair's legs.
Step 10: Cover the Seat Cushion
Put the cushion on the fabric and cut out the material needed to make a cover. Sew the material together on three sides and leave the back open. Slide the cushion inside the cover and pull tight. Sew the open side by hand to close in the cushion.
Place the cushion back in the swivel chair with the hand-sewn edge at the back.
And voila! You have a new chair.
How do You Reupholster a Curve?
To reupholster a curve, you need to attach a piece of muslin to the swivel chair so that you have something to work with. This makes it easier to attach fabric onto the frame and also makes wrinkles or lumps in the material less noticeable.
For an amazing job, use plenty of staples on either side while attaching the fabric to the frame. Go in rows and pull tight every time you attach an inch or two. This ensures you leave no loose areas on the material that could wrinkle when you sit down.
Good luck with your upcoming re-upholstery project!
Featured Image Source: unsplash.com

